
Hands-on activities really help to bring history lessons to life.
During our study of early America, we have enjoyed several Colonial America crafts and Native American crafts for kids.
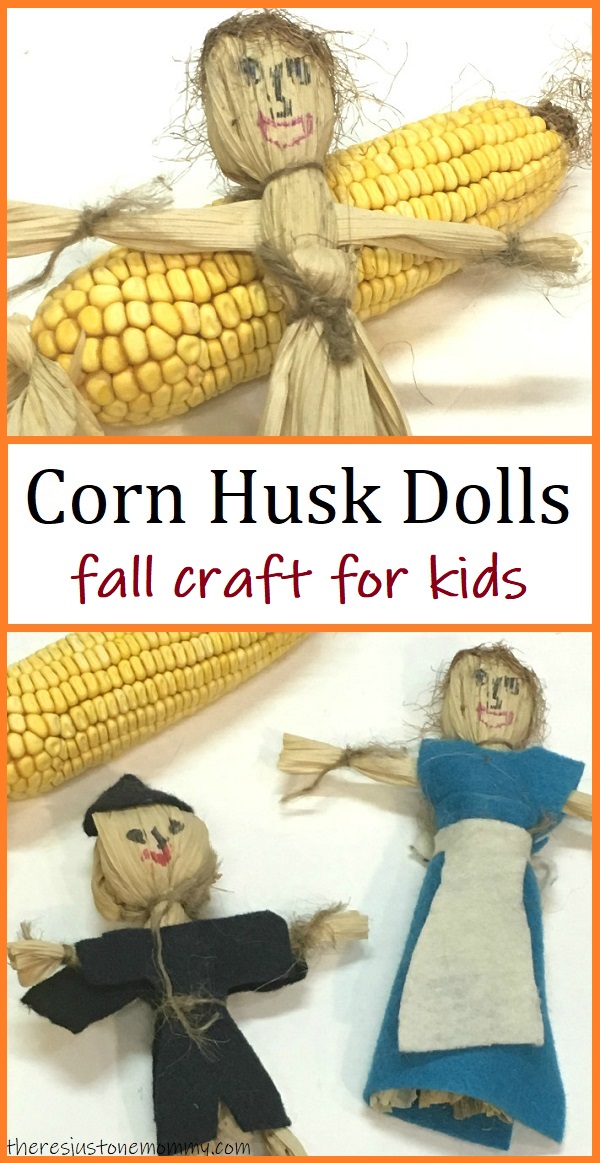
One of our favorites was learning how to make corn husk dolls.

Affiliate links have been used in this post for your convenience. See my full disclosure for more details.
Fall is the perfect time of year for making a corn husk doll with the kids, whether it’s for a hands-on learning activity or as a fun kids fall craft.
If you search online you will be amazed by some of the beautiful corn husk dolls people have created. This version is super simple and perfect for kids.
If you are studying early American history, you may also want to check out how to make homemade quills and create your own tin can lanterns.
Corn Husk Dolls
Materials Needed:
- Corn Husks
- Twine
- Paper Towels
- Scrap Fabric (Optional)
- Permanent Markers or Acrylic Paint (Optional)
For each doll you will need 5 corn husks, a couple more if you want to make a fuller skirt for a girl doll.
We got our corn husks from the corn we picked this year in our garden. You can also purchase corn husks specifically for crafting at a local craft store or find them online.
How to Make a Corn Husk Doll
Start by soaking the corn husks in a bowl of water for 10 minutes to soften them.
Once the corn husks are softened, use paper towels to blot the excess water from your corn husks.
Stack 4 corn husks on top of each other, with the pointy ends at the top.
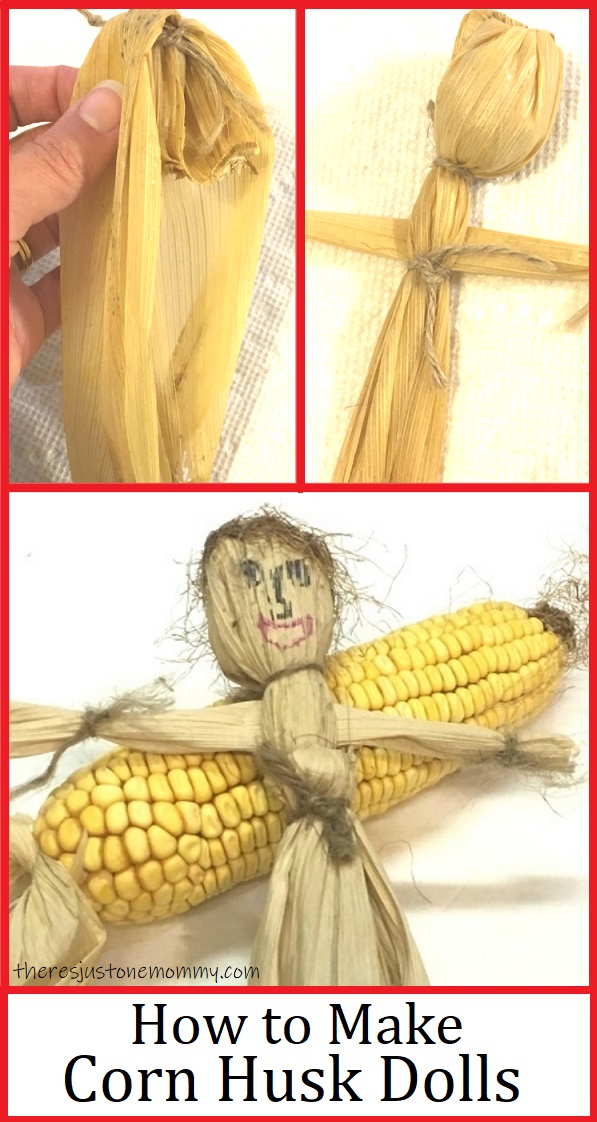
Tie a small piece of twine around the bundle, 1 inch from the top.
Now take the loose ends of the corn husks and flip them inside out around the tied end, so that 2 corn husks go on each side. (See the middle picture below.) This will form the head of your corn leaf doll.
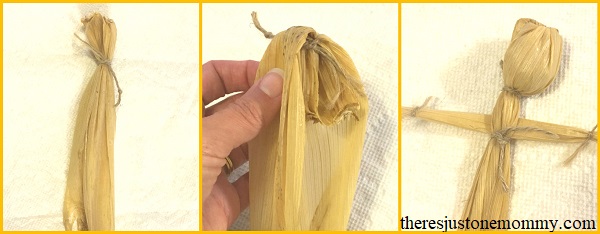
Use a bit of twine to tie the folded corn husks right below the bundled up portion to form the head.
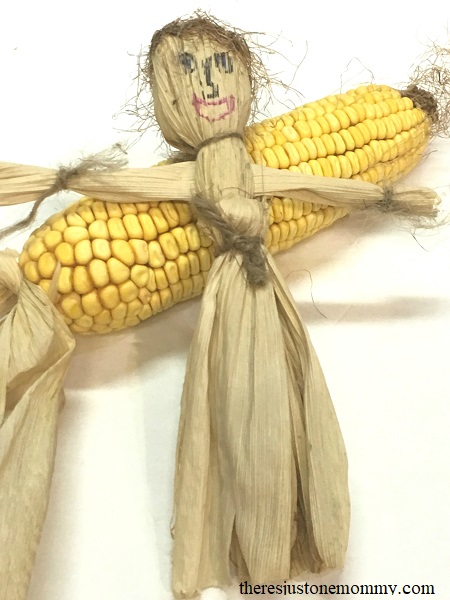
Take your 5th corn husk and trim off both ends. Roll it tightly lengthwise and tie a small piece of twin at each end to hold it closed and form the dolls hands.
Open up the layered corn husks and slide this rolled up corn husk between them so there are 2 corn husks on top and 2 on bottom. This will become the doll’s arms.
Tie a piece of twine tightly right under the doll’s arms.
If you want a girl doll, at this point you can be done. Or, for a fuller skirt, trim the ends of 2 more corn husks and tie them around the doll’s waist.
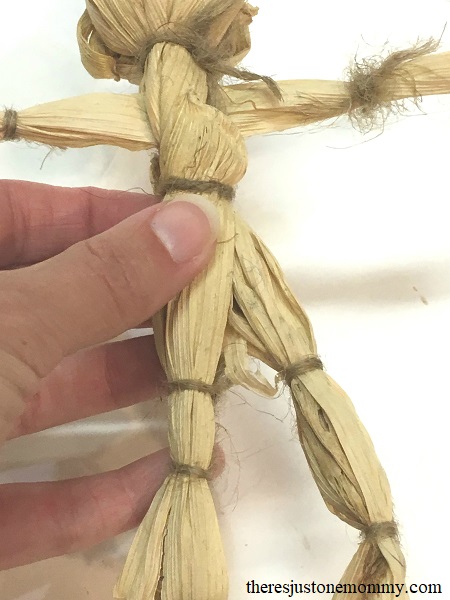
For a boy doll, separate the skirts into 2 equal sections and use twine to tie at the knees and ankles.
Corn Husk Dolls History
Native Americans made sure no part of the corn plant went to waste. Once the corn was picked and eaten, the husks could be braided to form rope and twine. They could also be used to fill pillows and matresses.
These simple dolls made with corn husks were also made by the early Americans.
During Colonial America times the dolls would usually be left plain.
This is especially true when Native Americans made these dolls from corn husks.
There are a number of legends explaining why the dolls would be left without a face. You may want to read the Legend of the No Face Doll with your child.
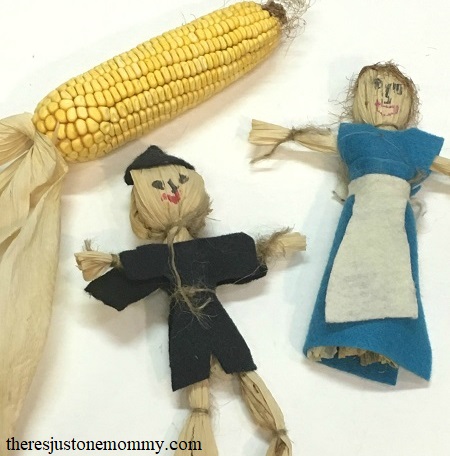
My kids chose to use permanent markers to give their dolls faces and glued corn silk on as hair. If desired, your child could create a face with markers or paint as well.
They also fashioned some clothes out of felt scraps, tying it around the dolls with a bit of twine.
Whether or not your child decorates their doll, learning how to make corn husk dolls is a fun Colonial America craft for kids that helps make history come alive.
More Early America Activities to Try:
- Build a Model of a Wigwam
- Make Invisible Ink (Like Spies from the Revolutionary War)
More fun Kids Fall Crafts:
Originally published Sept. 15, 2017.


