
If you open my freezer on any given day, you will probably find some type of toy frozen in a block of ice. Hot Wheels, princess dolls, and Legos have been trapped in plastic containers the kids have filled with water and frozen.
I’m not sure what the fascination is, but the kids will bring them out, place them in the sink to thaw, and then start the whole process over again.
This love of melting ice is what inspired one of our favorite Valentine’s Day STEM activities.
Our Valentine’s Day Science: Melt the Frozen Heart was a huge hit and I couldn’t wait to share it with you.
Frozen activities for preschoolers are always fun.
This super simple science activity is a fun Valentines activity for kids. It also would be a huge hit with Disney’s Frozen fans.
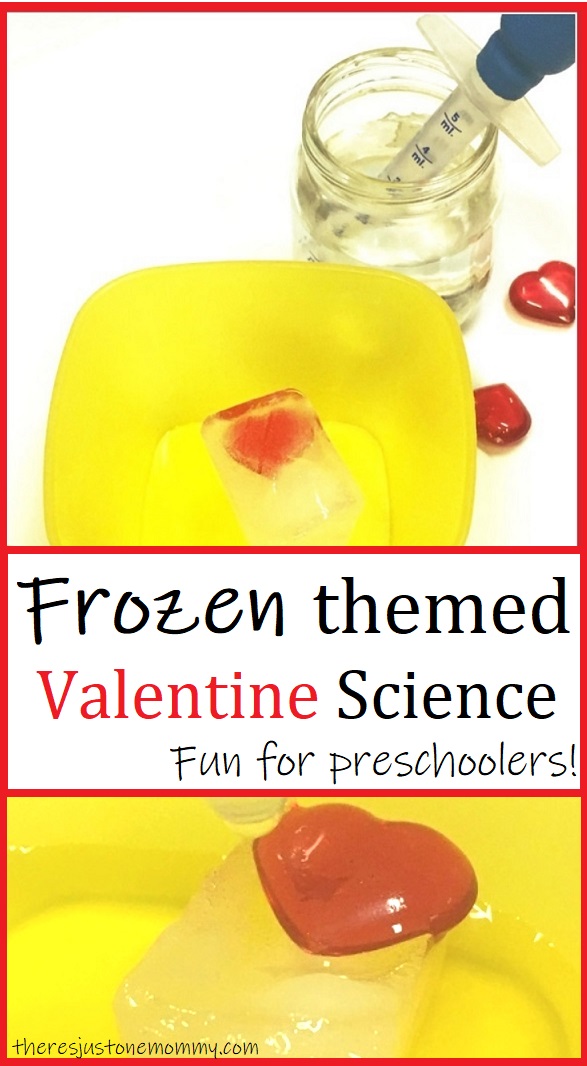
Melting Frozen Hearts
Materials Needed:
Affiliate links provided below. See my full disclosure policy for more details.
- Ice Cube Tray
- Eye Dropper (Pipette)
- Small Plastic Hearts (We used these.)
- Small bowl or tray (to contain the mess)
- Small container for water
Fill the spots of your ice cube tray half way with water and freeze.
Once it is frozen, add a plastic heart to each ice cube space. Finish filling with water and freeze again. This will ensure your heart is in the middle of each ice cube and not right on the top or bottom.
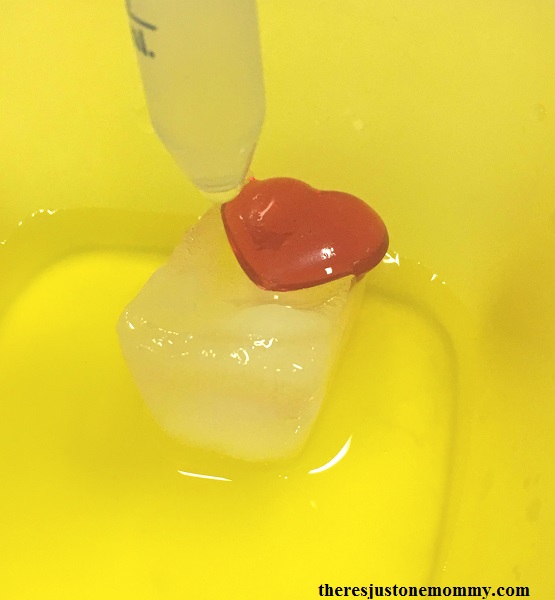
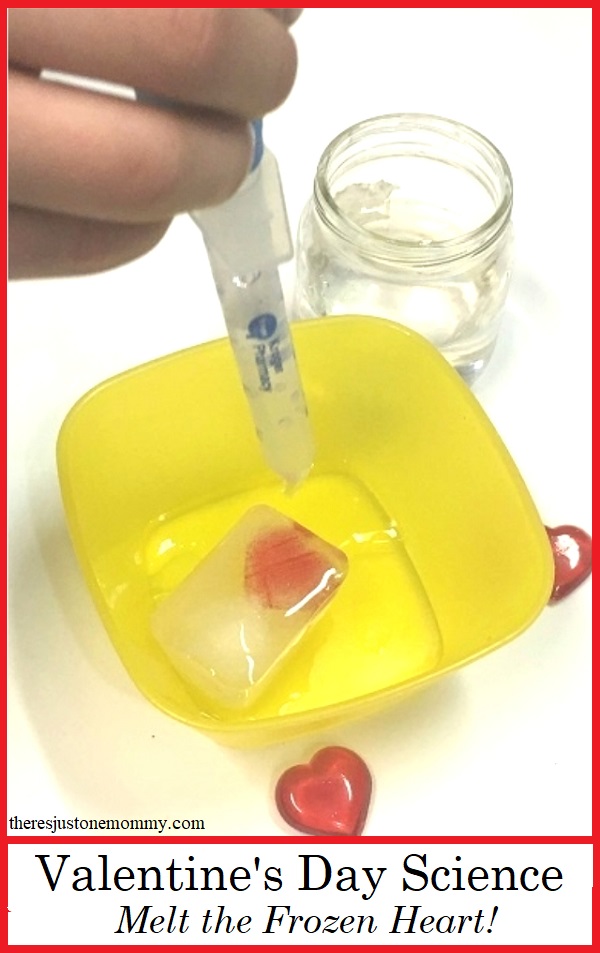
Once frozen, get out one frozen heart for your child to experiment with at a time.
Fill your small container with room temperature water and allow your child to use the eye dropper to drip water on the frozen heart.
Set a timer to see how long it takes before the ice melts enough to remove the heart. Use a chart to record the time.
Will hot water make the ice melt faster?
Have your child estimate how quickly they think the heart will melt using hot water.
Then set the timer and let them experiment, using the eye dropper to drip hot water onto the ice cube. Record the time on your chart and compare it to the time from using room temperature water.
(Related Post: 20 Ways to Play with Ice)
Younger children may be happy with just these two activities. They may even want to try it again and again.
Not only are they learning about how different water temperatures affect the ice, they are also building fine motor skills and hand muscles by using the eye dropper.
For older children you may want to continue the Valentine’s Day experiment with some of the following ideas.
- How long will it take to melt on its own? Place one of the frozen hearts in a shallow bowl and set it aside. Set a timer and check the ice cube every 5-10 minutes to check its progress. (Ours took over an hour!) Record your findings.
- How else can you get the ice to melt faster? Have your child shake salt all over the ice. What happens? Check the ice cube every few minutes. Record how long it takes to melt enough to remove the heart.
- What other ideas does your child have? Let them experiment, making only one change at a time. Time and record the results on your chart. (My daughter decided to try shaking the frozen heart in a baggie after adding salt to see if it would melt faster than with just salt. It did!)
Will this activity put a stop to the endless toys found in the freezer? Probably not.
But this Valentine’s Day science activity is a fun way to encourage thinking skills and foster a love of science.
You may also like:
- Discover the Science of Sledding
- Cherry Explosion: Sweet-Smelling Fizzy Science
- Take Your Child’s Love of Exploring to New Heights with Up!
Get more fun ideas like this delivered to your email by subscribing to our newsletter.
Marielle says
A simple, fun idea. I’m going to go fill my ice cube trays! Thanks!
OneMommy says
I hope your children enjoy it as much as we did!