
Kids love balloons, and they love to experiment and explore.
It’s no wonder there are so many fun balloon science experiments for kids to try.
This CD hovercraft STEM activity takes just 10 minutes to do. It’s perfect for rainy days or as an after school activity.
No matter what age your child is, it will quickly become one of your favorite STEM activities for kids.
Hovercrafts are a truly unique vehicle. Unlike a car that uses wheels, or a boat that floats on water, hovercrafts actually float on a cushion of air.
Not only that, but they are amphibious, meaning they can travel over both land and water. Isn’t that cool?
If you are looking for quick and simple STEM activities, you may also want to try this classic paper cup phone or make a coffee filter parachute.
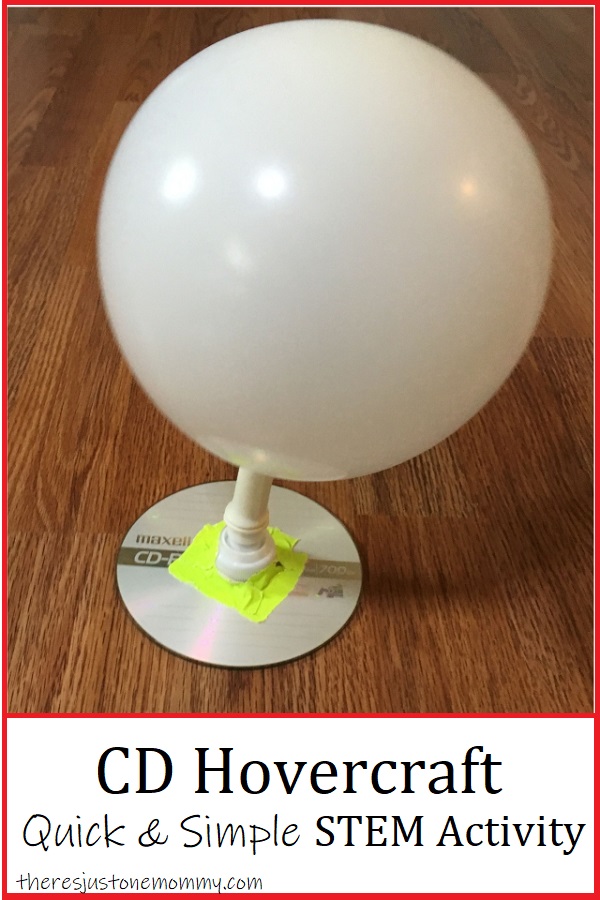
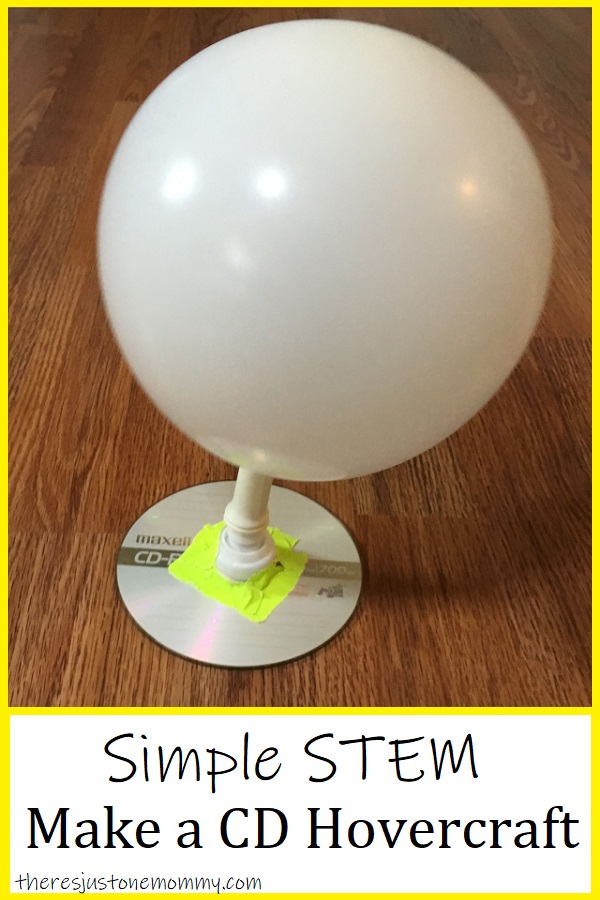
CD Hovercraft STEM
Materials Needed:
- Old, Unwanted CD
- Drinking Spout from a Water Bottle
- Balloon
- Duct Tape (or hot glue gun)
- Stickers or Permanent Markers (optional)
We love to keep these STEM supplies on hand for impromptu activities.
To make a hovercraft, line up the base of the drinking spout so it covers the hole in the CD.
Use duct tape to secure the drinking spout. Make sure you completely seal around the spout, leaving no space for air to leak.
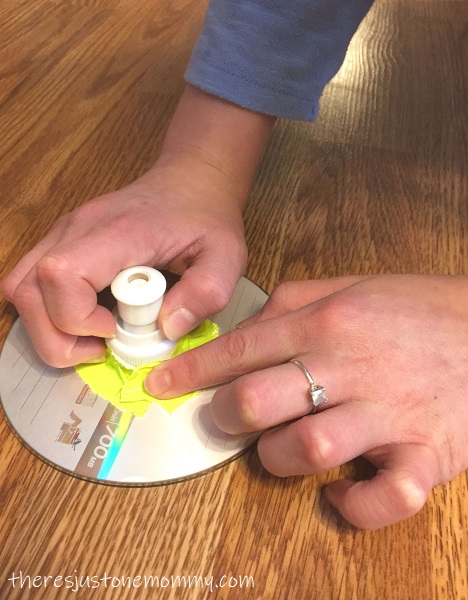
Alternatively, you can use a hot glue gun to adhere the spout to the CD. Your child may even choose to decorate the CD with stickers or permanent markers if they feel extra creative.
Once the water bottle spout is attached to the CD, blow up your balloon and pinch the neck to keep the air from escaping.
Keeping the balloon pinched, stretch the mouth of the balloon over the top of the drinking spout. This step is easier for kids if they have a friend help.
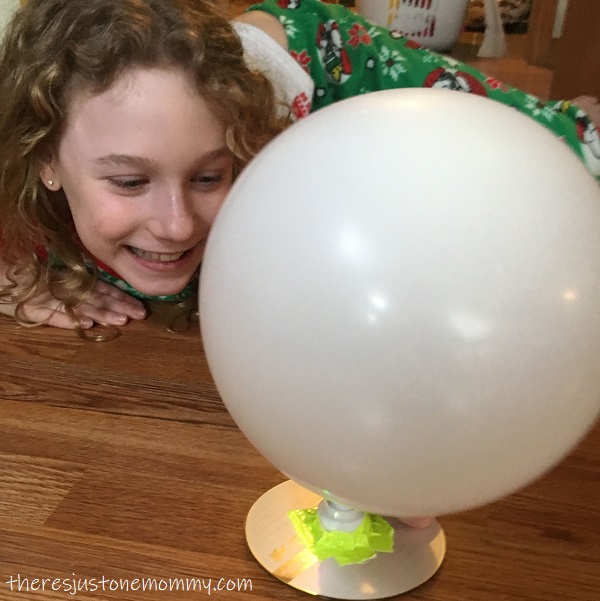
With your fingers still pinching the balloon closed, place the balloon hovercraft on a hard, flat surface, such as a table or floor.
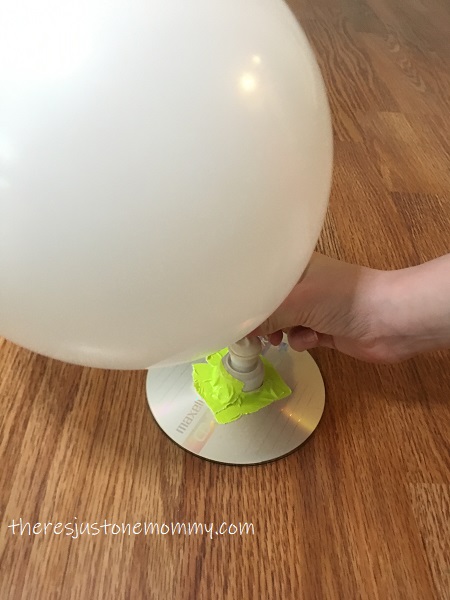
Make sure the drinking spout is open. Then let go of the balloon.
Your hovercraft should move, floating just above the surface.
For more balloon STEM ideas, check out our balloon boat.
How a CD and Balloon Hovercraft Works
When you release the air from the balloon, it gets trapped beneath the CD.
The trapped air reduces the friction between the floor and the CD.
As the air continues to leave the balloon, the air current causes the hovercraft to glide across the floor’s surface.
This simple STEM activity is a fun example of Newton’s First Law of Motion: an object at rest will stay at rest unless acted upon by an external force. In this case, the CD stays at rest until the force of the air escaping the balloon causes it to move.
Extensions for Hovercraft STEM Activity
Once your child has made the hovercraft glide across the floor a few times, challenge them to try these activities to take the learning further.
- Use a stopwatch or timer to see how long your hovercraft stays afloat. Time it several times to find the average length of time.
- What happens if you only blow the balloon up part way? What if you use a larger balloon?
- Try making a hovercraft with a paper plate. How does it compare to the hover craft made with a CD?
This CD hovercraft STEM is fun and super easy to do. It’s a perfect balloon experiment to do after school or on a rainy day.
You can find this and 50 other engineering projects in my new book, (affiliate link) Awesome Engineering Activities for Kids.
You may also enjoy: