When it comes to hands-on learning, kids of all ages absolutely love STEM activities, especially when they get to engineer and then use the item.
Spring is the perfect time to study weather, especially the wind.
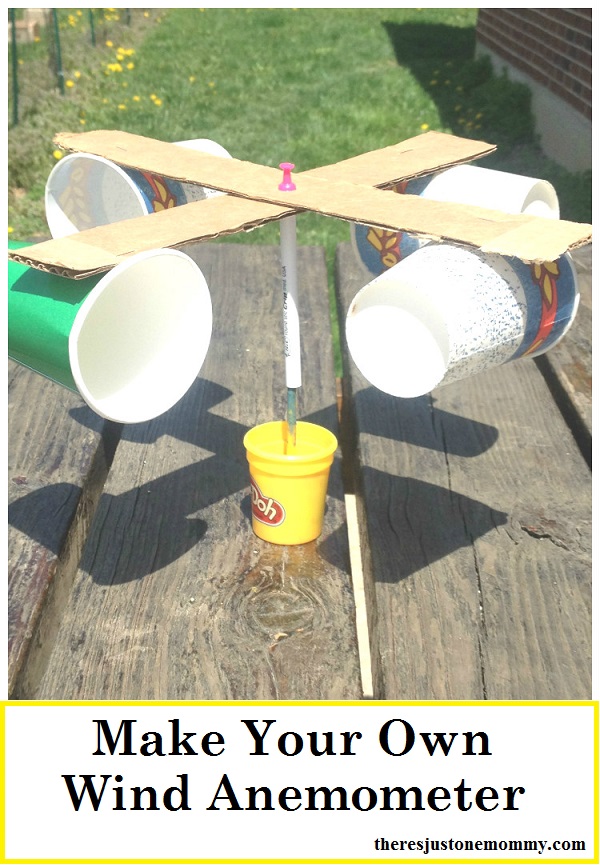
Your child will have fun discovering how to make an anemometer with cardboard and paper cups.
Once you finish this diy anemometer, you can continue studying the weather with some other weather unit activities.
Study the types of clouds and learn how to make a cloud in a jar, or try out this super simple rain cloud activity.
How to Make an Anemometer
Affliate links have been provided below for your convenience.
Materials Needed:
- 4 Paper Cups
- Corrugated Cardboard
- Thumbtack
- Hot Glue Gun or Stapler
- Scissors
- Colorful Tape
- Your Choice of Items for Spinning Portion (See directions below.)
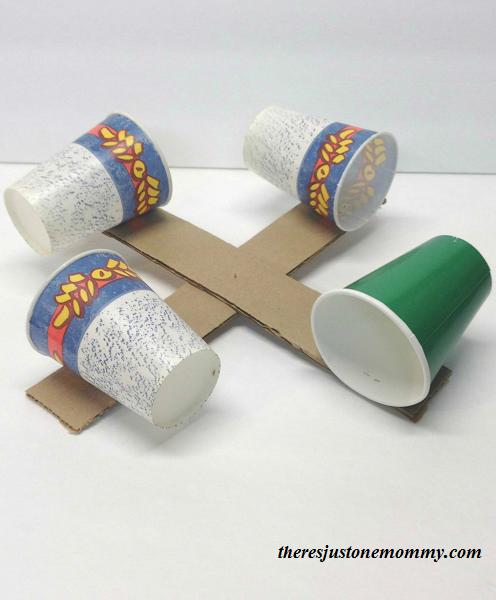
To make your homemade wind gauge, begin by cutting your corrugated cardboard into 2 strips that are approximately 1.5 inches wide and 12 inches long (3.8 x 30.5 cm.
Use hot glue or a stapler to connect your 2 pieces of cardboard together so they form a cross. Try to center the pieces as much as possible so you have an equal amount of cardboard on each side.
Once that is finished, use your colorful tape to decorate one of your paper cups. You could also use a paper cup that is a different color but is still close in size to your other cups. (This is what we did.)
Then staple or hot glue each of the paper cups to the ends of the cardboard cross. Make sure the cups all face the same direction!
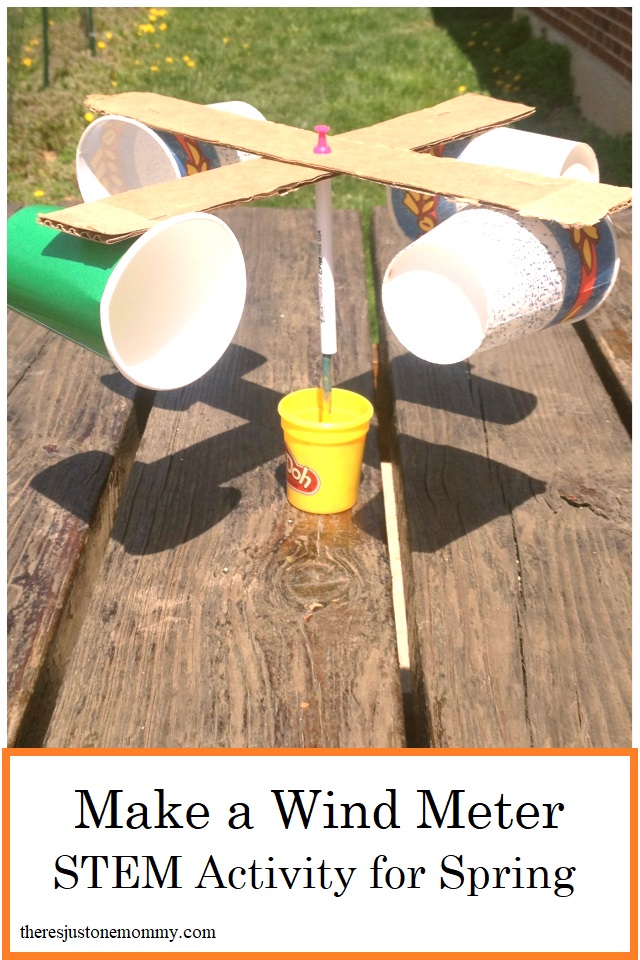
How to Make a Wind Gauge
To make the spinning portion of your homemade anemometer you have a couple choices. The first choice is what worked best for us.
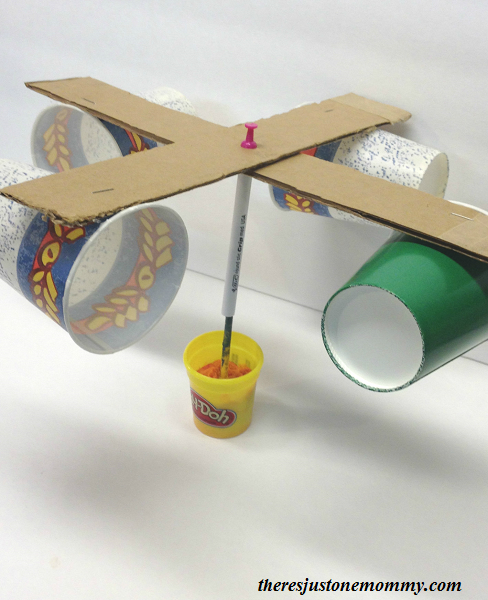
Choice 1: Use an old pen and dowel rod.
- Take apart an old pen and slide the hollow plastic portion over the end of a thin wood dowel, making sure there is enough room for the pen piece to spin around the dowel.
- Use your thumbtack to fasten the center of the cardboard cross to the end of the pen casing.
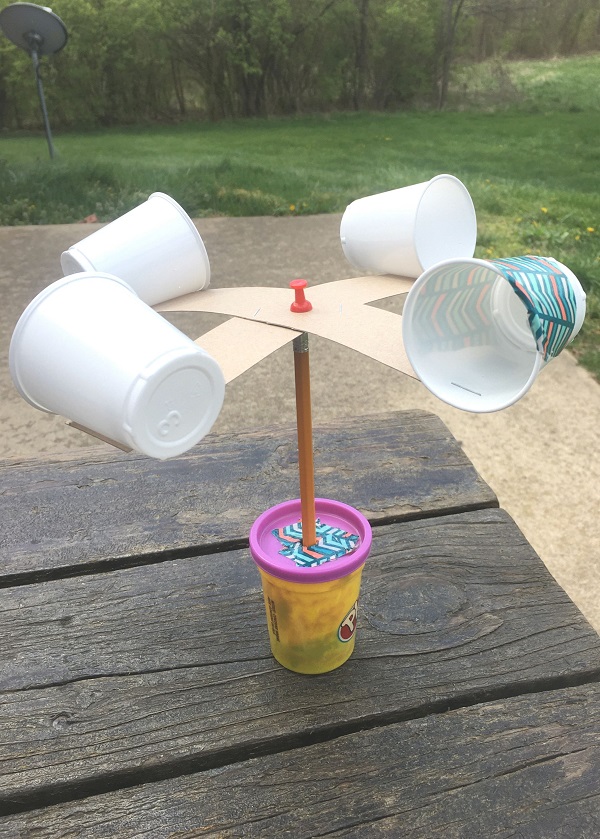
- Then stick the free end of the wood dowel into a lump of clay or playdough. (We left our playdough in the container.)
Choice 2: Use a new pencil and a plastic container with lid.
- Check your recycling for a plastic container that is at least 2 1/2 – 3 inches (6.3 – 7.5 cm) tall with a lid. Use the tip of your scissors to make a hole in the center of the container’s lid. The hole needs to be just a tiny bit larger than the width of your pencil.
- Use your thumbtack to attach the center of your cardboard cross to the pencil’s eraser.
- Stick the free end of your pencil into the hole of your container’s lid.
DIY Wind Meter
Once your homemade wind gauge is built, you can take it outside to check out the speed of the wind.
We set ours up on the picnic table.
To measure the wind speed, set a timer for 1 minute and count how many times your different colored cup goes around in a circle.
If your cup goes around 10 times in that 1 minute, the wind speed is approximately 1 mile an hour. If it goes around 20 times in a minute, the wind is 2 miles an hour, etc.
Learn more about weather by creating a tornado in a jar.
I hope your child has as much fun learning how to make a wind anemometer with cardboard and paper cups to measure the wind speed as we did.
You’ll also like these posts:
Get more fun ideas like this delivered to your email by subscribing to our newsletter.
Eva says
We are in the middle of our Weather Unit. This looks like fun. We will give it a try.