Painting is a great way to give kids the opportunity to express themselves artistically.
When you do salt painting your child gets to mix science with art, making it a fun STEAM activity (STEM activity for kids with art mixed in).
Affiliate links have been used below. See my full disclosure for more details.
If your child loves STEM activities and art, you may also want to check out our splat painting.
Raised Salt Painting
Materials Needed:
- Liquid Glue (We love Elmer’s school glue.)
- Liquid Watercolor Paints (See how we made our own liquid watercolors!)
- Table Salt
- Eye Droppers and/or Paintbrushes
- Construction Paper or Thick Art Paper
The first step to salt painting is to draw a picture with the liquid glue.
Younger kids will have fun just making a random design on the paper with the glue. (And squeezing that glue out is great for building hand strength needed for writing skills!)
Older kids may want to draw their picture with pencil first and then trace over it with the glue.
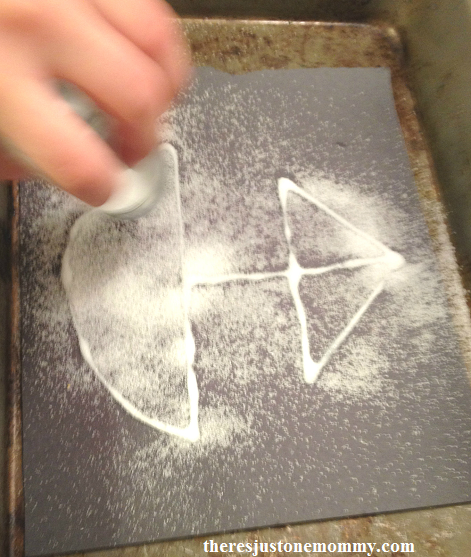
The next step is to cover the glue with table salt. This is a favorite step for kids of all ages!
To minimize the mess, I had my artists do their work inside an old cake pan. Once the glue is covered, you can shake off the excess salt to use for the next painting or a future craft.
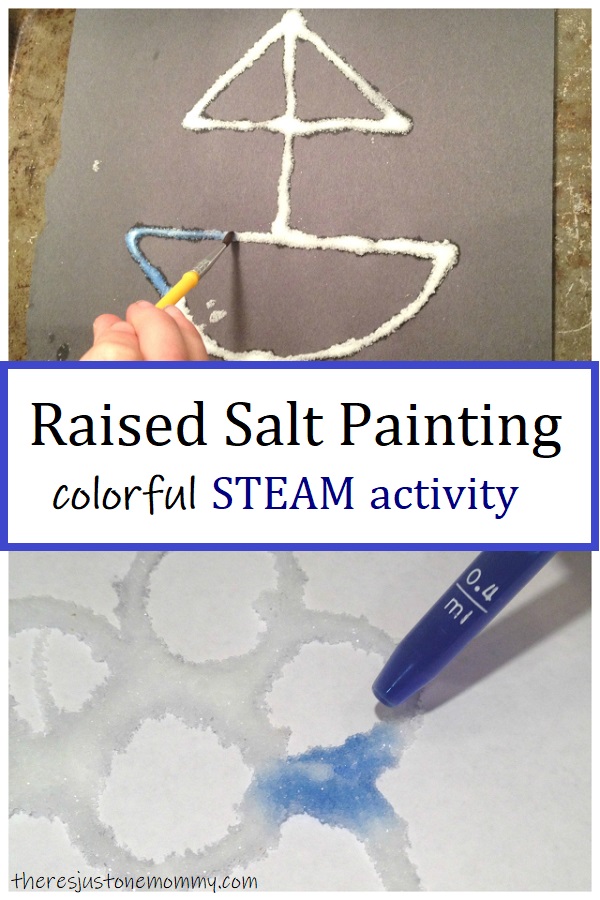
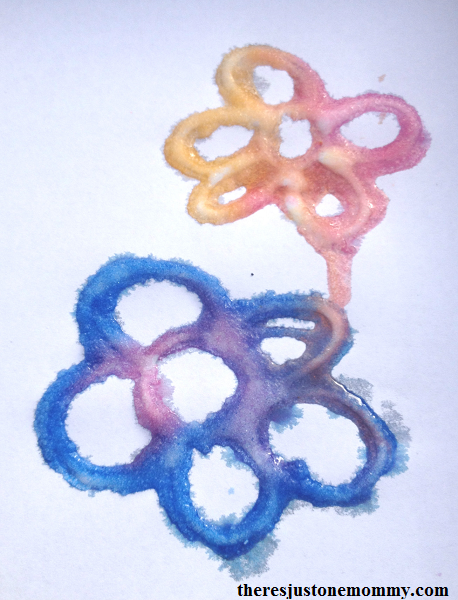
Now you are ready to add your color. We tried two different techniques, a paintbrush and an eye dropper.
If you use a paintbrush, you just want to dip the tip of the brush into the paint and then touch it to the salt. Do NOT drag it along the glue/salt mixture or you will mess up your painting.
Kids love watching the color spread all on its own!
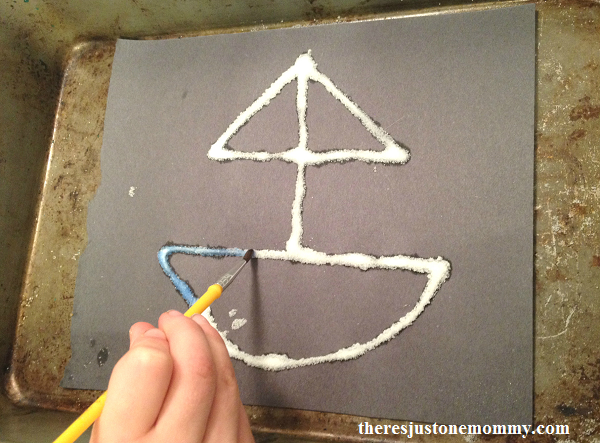
My son wanted to try his painting on black paper. I love how the colors pop out on the dark background!
Second Salt Painting Technique
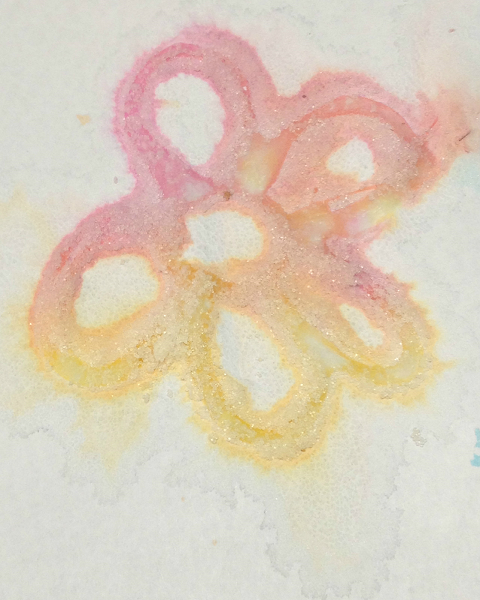
You can also try using an eye dropper to drip the watercolors onto the salt.
This is lots of fun for little ones.
If you try this technique you will find that the paper gets a bit wetter. You may want to use a thicker art paper for this version.
If you use an eye dropper, once your painting dries, it will look something like the picture below.
The image is a little fuzzier than if you use a paint brush, but it is still a fun process.
The salt painting craft is a bit fragile once dry. The salt will shake off a bit, but it can easily be vacuumed up.
The fun the kids will have creating these definitely outweighs the bit of salt on the floor. Once we started making these, mine wanted to keep making salt paintings for almost an hour!
Science Behind Painting Salt
Table salt is hygroscopic. That means it attracts water vapor from the air and liquid water from its surroundings.
In this case it easily absorbs the water color paint, pulling the color through the grains of salt.
If you liked this raised salt painting activity, you may also like:
- Erupting Salt Art from Paging Fun Mums
- Creating Salt Crystal Egg Geodes
- Mud Painting