Winter is a time where we stay indoors a little more. It’s a time for cuddling up and reading together, baking cookies, and the perfect time for crafting.
When it comes to kids winter crafts, snowflakes and snowmen are always popular.
My daughter had so much fun mixing painting, her favorite type of craft, and cutting snowflakes out that we couldn’t wait to share this fun snowflake craft with relief painting.

This craft is perfect for those cold December – February months.
You might also like this sparkly snowflake craft idea.
And if your child loves slime as much as my daughter does, be sure to check out this simple DIY snowflake slime recipe.
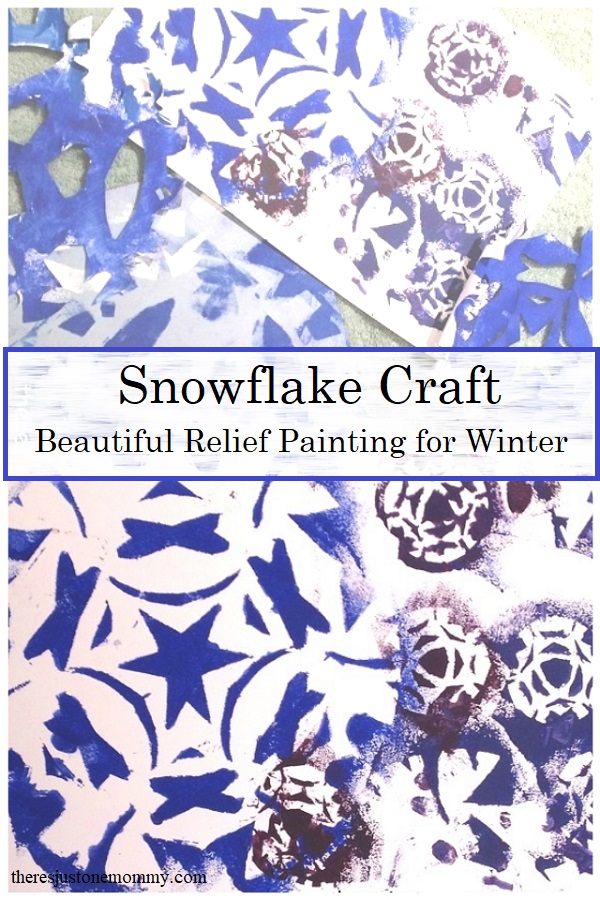
Snowflake Craft with Relief Painting
Affiliate links have been provided below. See my full disclosure here.
Materials Needed:
- Construction Paper
- Paper Plates
- Sponges (Snips of clean kitchen sponges will work.)
- Acrylic Paint (I love these washable paints!)
Start by cutting out several snowflakes from construction paper. The thicker paper holds up better with the paint.
Older kids can do the folding and cutting on their own.
For younger kids you may want to fold the paper and draw triangles, half ovals, etc. along the paper folds and allow the kids to then try cutting on the lines. Make the shapes super simple for the youngest ones!
Or, you could even have the snowflakes pre-cut.
Once you have your snowflakes cut out, it is time for the real fun.
Pour a little paint, in “winter colors,” onto several paper plates. (We chose to use white, blue, and purple.)
Give each of your artists a thick sheet of paper, suitable for painting, and a small sponge.
Using the cut out snowflakes like stencils, lay the snowflake on the paper and use the sponge to dab paint along the snowflake’s edges.
Start with the largest snowflakes first. This allows you to layer smaller ones on top.

You can lift up the snowflake once you have finished dabbing paint on and around it. Then you can place the snowflake down on the paper again and use a different color paint.
Or you can use different snowflakes and layer them.
Just like real snowflakes, each picture comes out unique and beautiful!
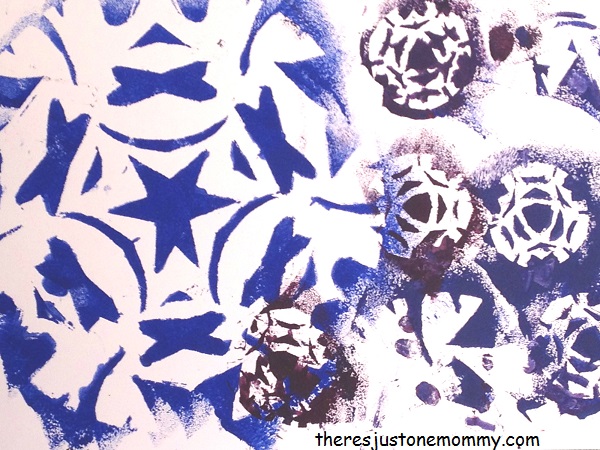
My oldest chose to use her small snowflakes, mixed with the larger one, to create this lovely design.
As a bonus, you can let the paint dry on your snowflake stencil and then hang them with a pretty ribbon.
This simple snowflake craft, using relief painting, looks beautiful hanging on the doors.
You may also like:
Get more fun ideas like this and a free Christmas scavenger hunt delivered to your email by subscribing to our newsletter.


Susie@homemaker-mom says
Those look stunning! I love snowflake anything!
Donna DM Yates says
What a fun project. I would have loved to have joined you.
Carrie says
What a great way to greet snow!! Thank you for sharing at Sharing Saturday!!